
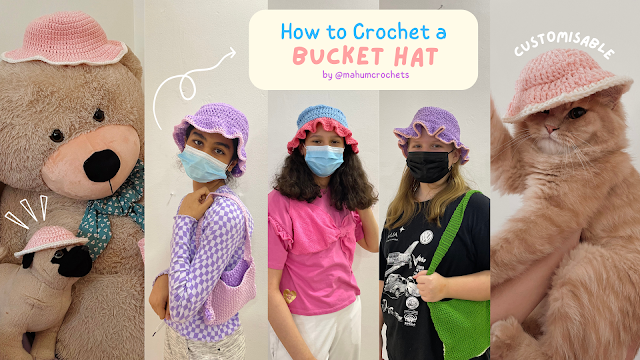
 Hi everyone, here's an adorable photo cover with cat ears! The size is completely customizable and your piece will be made to measure.

A note on the pattern: I ran out of storage while traveling and had to delete some things from my camera roll. I accidentally deleted some pictures for the steps, but I've tried to make everything as clear as possible. If you have any questions, please DM me on Instagram!
Materials & Terminology: I used a 4.5 mm hook and yarn appropriate for that hook size. Abbreviations: CH - chain, SC - single crochet, SS - slip stitch, SC2TOG - single crochet 2 stitches together, this is basically a sc decrease where you insert hook into a stitch, yarn over and pull up a loop (2 loops on your hook), insert hook into the next stitch, yarn over and pull up a loop (3 loops of your hook), yarn over and pull through all the 3 loops on the hook.

Start with a slip knot and ch till the length is slightly bigger on all sides of your photo (something like the picture on the left).
Sc into every ch across the row, turn your work, then sc into every stitch across the row again, keep doing this till the height is what you want. To make the edges neater, I didn't ch 1 (the turning ch) after every row as we usually do. The first stitch of the row will be hard to insert your hook into without that turning ch 1, but the edges will turn out much neater.

Start with a slip knot and chain the length that's the same as your back part, sc into every ch across the row, continue turning your work and inserting 1 sc into every stitch across the row till you have the height you want for the bottom border.
Now you're going to start one of the side borders - sc into the stitches till the width is what you want (please make sure it's an even number of stitches for the side borders), turn your work and sc into every stitch across your row till the height is 1 less row than what you want. So for example, my back part is made up of a total of 16 rows, my bottom border is 2 rows and I will do 2 rows for the top border too. Since the front part has to be the same size as the back part, that means that I have to make my side borders with 12 rows in between the bottom and top border. So, my first side border is 11 rows (1 less than what I want).

Sc into the stitches of your first border (this is the row that we didn't do while making this border). Turn your work and do the same number of sc rows as your bottom border.

Part 3: The cat ears (please also refer to the "materials & terminology" paragraph at the top for an explanation of sc2tog)
Do not fasten off after you're done with the front part, turn your work and sc into the same number of stitches as your side borders. Turn your work and sc2tog across the row, repeat turning your work and sc2tog until you have just 1 stitch left at the top.
Ch 1 and ss down the side of your ear and across the top of the top border to get to the other side. When you have the same number of stitches left as your side border, sc into them. Turn your work and sc2tog the rows till you have 1 stitch left at the top (just like on the other side). Ch 1 or 2 to fasten off and cut.
Optional step: to make the lighter part of the ear, ch till the length is slightly smaller than the ears you made, do rows of sc2tog till you have 1 stitch left at the top, ch 1 or 2 to fasten off and cut. Make 2 of these lighter ears, then you can sew them onto the larger ears.
Part 4: Joining the front and back pieces
Usually, crochet pieces are joined together on the wrong sides with the right sides facing inwards. But I really like the neat look I get when I ss on top of the right sides. You can choose any way that you're comfortable with to join your front and back piece together! Here's what I did:
Attach the yarn at the top of one of the cat ears with a knot (I started on the left ear shown in the picture), ss down the side of the cat ear till you reach the border part, ss around the front and back pieces together by inserting your hook in both the sides. You can ch 1 or 2 to fasten off and cut here or...
Optional step: when you reach the end of the border, ch the length you want for the clasp/chain, ss into the back piece, ch 1 or 2 to fasten off and cut.
https://www.artstation.com/watch-the-wild-robot-fullmovie-free-online-on-engl/profile
https://www.artstation.com/rubentorosmatevosian5/profile
https://soundcloud.com/ruben-toros-matevosian/watch-the-wild-robot-english-subdub-online-free-on-dreamworks-animation
https://www.scoop.it/topic/watch-the-wild-robot-fullmovie-free-download-streaming-hd
https://www.scoop.it/topic/watch-the-wild-robot-2024-fullmovie-free-online-on-123movie
https://www.scoop.it/topic/watch-the-wild-robot-2024-fullmovie-free-online-on-english
https://www.scoop.it/topic/watch-the-wild-robot-2024-fullmovie-filmyzilla-download-free-720p-480p-and-1080p
https://www.scoop.it/topic/watch-the-wild-robot-2024-fullmovie-online-download-free-720p-1080p-hd-streaming-english-sub
https://wokwi.com/projects/403127142053869569
https://royalmagazine911.blogspot.com/2015/06/ootd-he-is-legend.html
https://medium.com/p/64138b534423


No comments:
Post a Comment